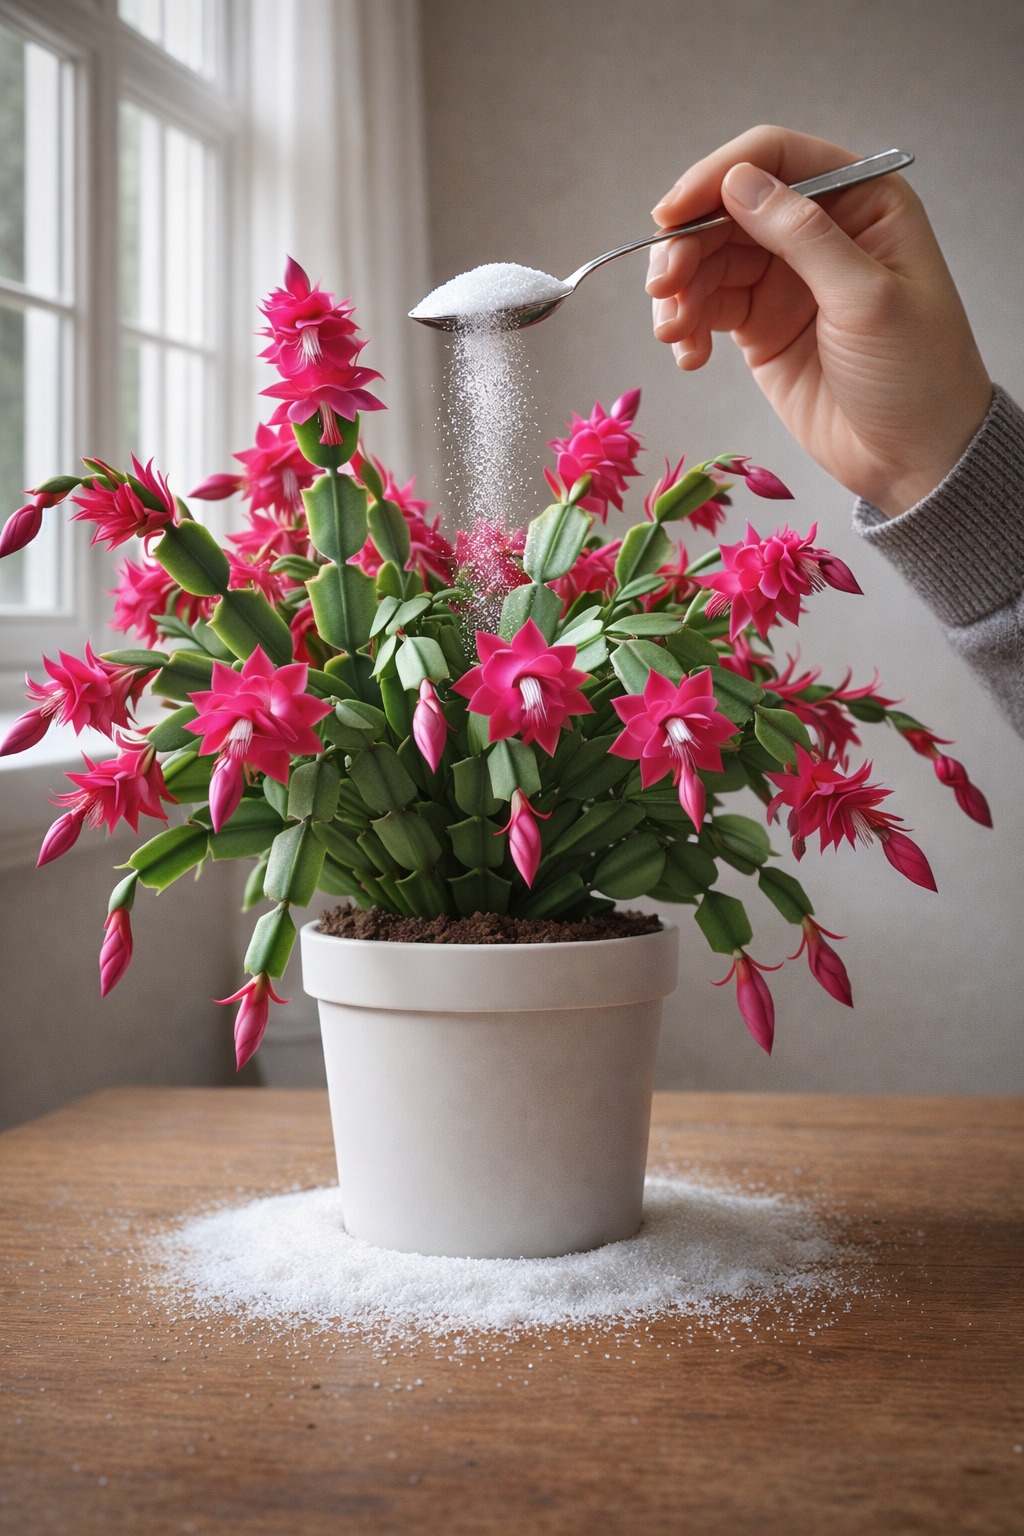
The Christmas cactus, known for its vibrant and exotic blooms that brighten the holiday season, is a unique and cherished houseplant.
Unlike other cacti, it thrives in lower light conditions and prefers a more humid environment. With its segmented, trailing stems and colorful flowers ranging from red to pink, this plant is also incredibly easy to propagate, making it perfect for adding more color to your home.
Step 1: Choose the Right Time
The best time to take cuttings is right after the plant has finished blooming, which usually occurs in spring.
Step 2: Prepare the Essential Materials
First, you’ll need a healthy Christmas cactus plant. Next, grab a small jar or pot that will serve as the new home for your cuttings.
You’ll also need stones or gravel to place at the bottom of the container. This helps improve drainage and prevents the cuttings from sitting in excess water.
If you have perlite available, that’s even better. Perlite improves aeration and helps the cuttings develop roots faster.
Step 3: Take the Cuttings
Ideally, choose a piece that is about 3–4 inches long and has at least three segments.
To remove the cutting, you can either gently twist the segment at the joint or use a clean, sharp knife.
Many gardeners prefer the twist method because it feels more natural and avoids damaging the plant.
Step 4: Allow the Cuttings to Callus
This step is very important because it helps protect the cuttings from rot and infection. The plant needs a few days to a week to form a protective callus over the cut area.
Place your cuttings in a cool, dry location. A windowsill with indirect light works well.
During this time, the plant focuses on healing the cut end. You’ll notice the end becoming firmer and drier as the callus forms.
Step 5: Potting the Cuttings
Before planting, make sure the soil is slightly damp.
Place the cutting about one inch deep into the soil, with the callused end facing downward. Gently press the soil around it to keep it secure.
If you are propagating several cuttings, you can plant them in the same pot. Just make sure they have enough space between them for proper airflow.
Step 6: Watering and Covering
Avoid overwatering, as this can cause root rot. A good rule is to let the top inch of soil dry out before watering again.
You may also cover the pot with a clear plastic bag or plastic dome to maintain humidity. However, ensure there is some ventilation to prevent mold from forming.
Step 7: Provide Indirect Light
see continuation on next page

Why Your Cat Rubs Against You

The Home You Choose Says More Than You Think

He Found It for Free… Then Did Something Incredible

What Does It Mean When a Woman Wears a Ring on Her Pinky Finger

1 Tablespoon Before Bed – Fall Asleep Faster Naturally

Cinnamon And Magnesium May Lower Blood Pressure Naturally
