Guide on Propagating Christmas Cactus for Exotic Blooms
Christmas cactus plants thrive in bright, indirect light.
A spot near a window that receives plenty of light but no direct sunlight is ideal. South-, west-, or east-facing windows are usually good choices.
If you plan to move your plant outdoors during summer, wait until nighttime temperatures consistently stay above 50°F (10°C).
During the growing season—typically spring and summer—aim for about 4–6 hours of indirect light per day to encourage healthy growth and blooming.
Keep an eye on your plant as it grows.
If you notice yellowing leaves, it may indicate overwatering or insufficient light.
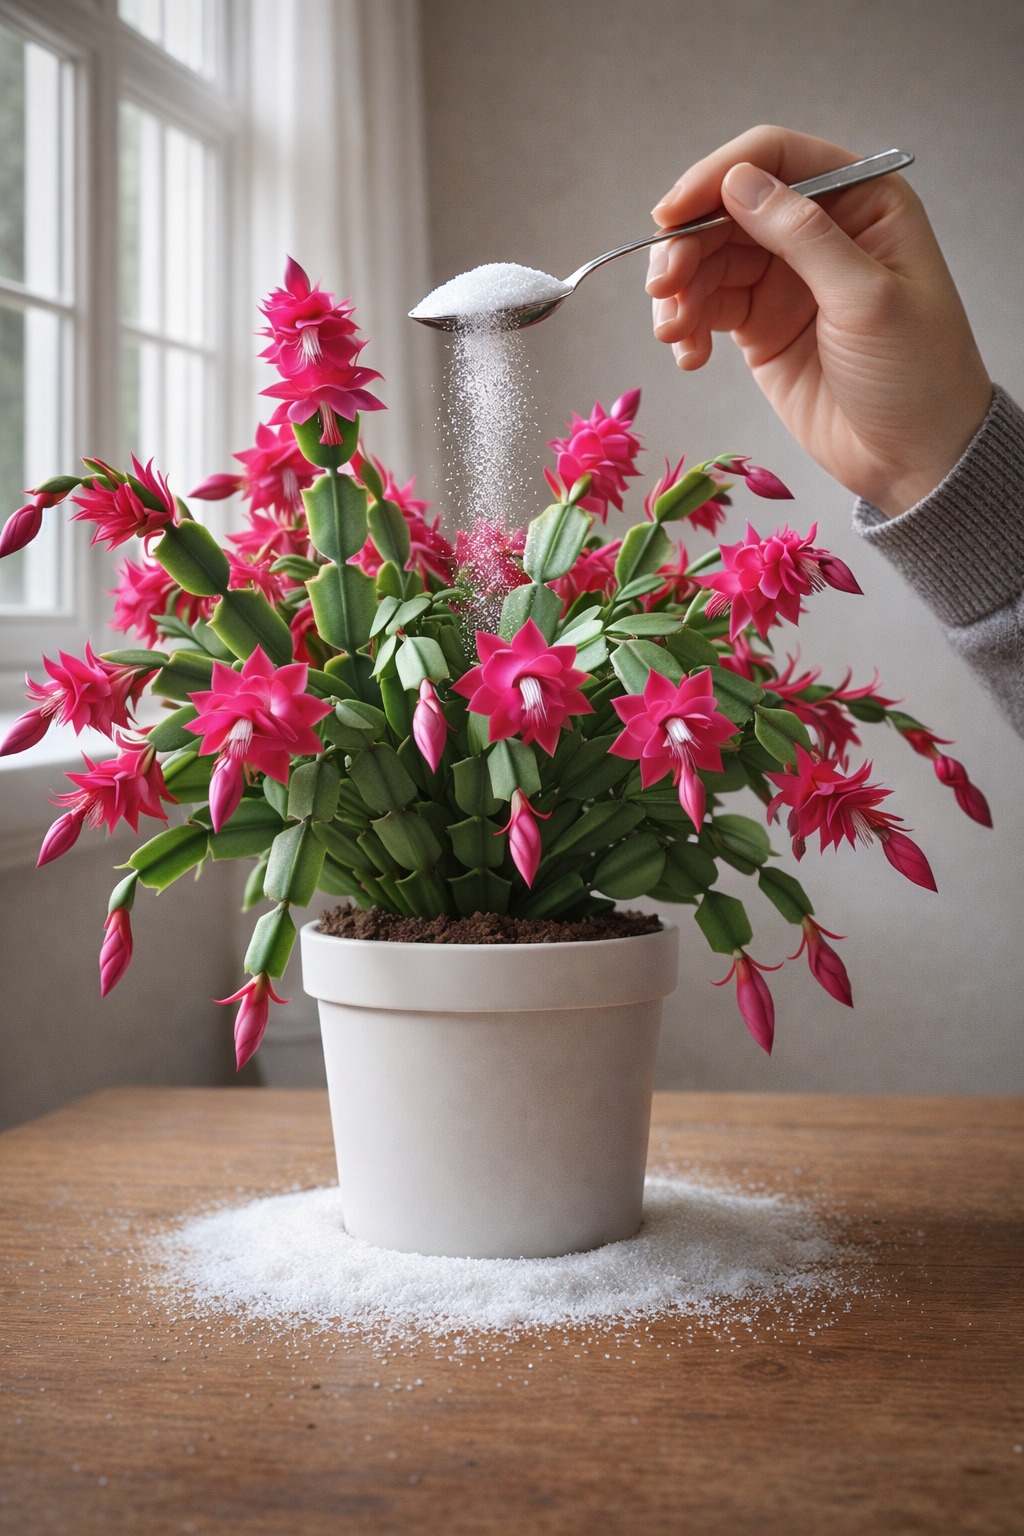
Feeding the plant with a balanced houseplant fertilizer once a month during the growing season can also support healthy growth. Be sure to dilute the fertilizer to half strength to avoid damaging the plant.
Root formation usually takes a few weeks to a couple of months.
You can gently tug on the cutting to test it. If you feel resistance, it means roots are developing.
Once the roots are established, you’ll start to see new growth above the soil, which signals that the plant is ready for the next stage.
Choose a pot with drainage holes to prevent waterlogging. A pot that is slightly larger than the current one works best.
You can either purchase a cactus potting mix or make your own by mixing potting soil, coarse sand, and peat moss in equal parts.
Gently remove the cactus from its current pot. If the roots are tangled or compacted, carefully loosen them.
Place the cactus in the new pot and fill the space around it with the prepared soil.
After transplanting, give the plant a thorough watering and allow the excess water to drain away.
Finally, place the plant in a shady location for a few days to help it recover from the transplant. Once it has settled, move it back to a spot with bright, indirect light.